

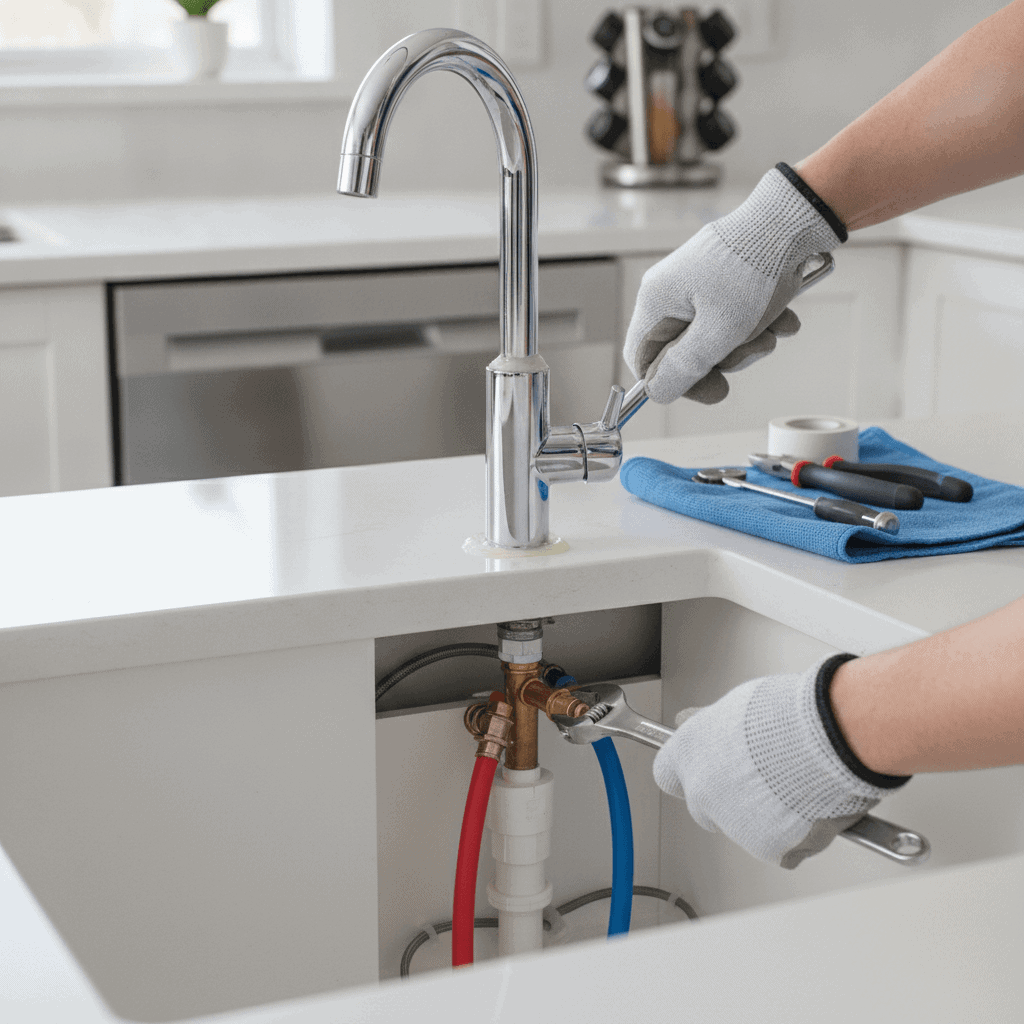
A well-functioning kitchen is the heart of any home. It is where we prepare meals gather with loved ones and sometimes even unwind after a long day. When kitchen fixtures like faucets or drains start to act up they can quickly become a source of frustration. Understanding how to approach fixing kitchen fixtures correctly can save you money and headaches.
I believe a beautiful home environment contributes significantly to a beautiful mind. Taking care of your living space including your kitchen plumbing is a form of self-care. It ensures your daily routines run smoothly and reduces unexpected stress.
In this guide I will share practical insights and steps for keeping your kitchen fixtures in top shape. You will learn common issues and how to address them with confidence. We want to empower you to maintain a functional and harmonious home.
Equipping Your Toolkit for Kitchen Fixture Fixes
Before you dive into fixing any kitchen fixture you need to have the right tools on hand. Trying to make a repair with inadequate equipment can lead to frustration and potentially more damage. I always make sure my toolbox is stocked with the basics for common household tasks. Having these items readily available means you are prepared for most minor plumbing issues.
A basic set of tools is not just for plumbers. Every homeowner benefits from having these items. When you are ready for fixing kitchen fixtures correctly proper preparation is key. I have seen many people struggle simply because they lacked a simple adjustable wrench or a specific type of screwdriver. Gathering your tools beforehand makes the repair process much smoother and more efficient.
Gathering Your Essential Supplies
Here is a list of tools and materials I recommend having for most kitchen fixture repairs:
- Adjustable wrenches (small and large)
- Pliers (groove joint pliers are very useful)
- Screwdrivers (flathead and Phillips head)
- Hex key set (Allen wrenches)
- Basin wrench (for tight spaces under the sink)
- Plumber’s putty or silicone sealant
- Teflon tape (PTFE tape)
- Replacement washers and O-rings
- Flashlight or headlamp
- Bucket and old towels
- Safety glasses
These items will cover most common repairs. They help you address leaks drips or low water pressure effectively. Always remember to turn off the water supply before starting any work. This crucial step prevents accidental floods and ensures your safety during the repair.
Troubleshooting Common Kitchen Faucet Issues
Kitchen faucets are used multiple times every day so wear and tear are inevitable. Drips leaks and low water pressure are among the most frequent problems I encounter. Diagnosing these issues correctly is the first step toward fixing kitchen fixtures correctly and efficiently. I usually start by observing the faucet to pinpoint the exact source of the problem.
A dripping faucet is not only annoying but it also wastes a lot of water over time. A small drip can waste hundreds of gallons of water each year. Leaks around the base of the faucet or under the sink are also common. These can lead to water damage if not addressed quickly. Low water pressure can make simple tasks like washing dishes take much longer.
Dealing with Persistent Drips
Most dripping faucets are caused by worn-out components inside the faucet cartridge or valve. For compression faucets this usually means replacing a rubber washer. Modern single-handle faucets often use a ceramic disc cartridge or rubber O-rings. The repair involves disassembling the faucet handle and spout to access these parts. I find it helpful to take pictures during disassembly so I can remember how everything goes back together. Make sure to buy replacement parts that match your faucet brand and model number.
If you have a cartridge faucet the entire cartridge may need replacing. These are typically plastic or brass cylinders that control water flow. Removing the retaining nut or clip allows you to pull out the old cartridge. Then you can insert the new one ensuring it is correctly aligned. Always apply a thin layer of plumber’s grease to new O-rings for better sealing and smoother operation.
Tackling Leaky Sink Drains and Garbage Disposals
Leaks from your sink drain or garbage disposal can be messy and damaging. They often go unnoticed until you see water stains in the cabinet below or feel dampness. Addressing these leaks promptly is a key part of fixing kitchen fixtures correctly. I always recommend checking under your sink regularly for any signs of moisture even if you do not notice an active leak.
The areas around the drain opening the P-trap connections and the disposal unit itself are common spots for leaks. Rust corrosion or loose connections can all contribute to water seepage. A small leak can quickly lead to mold growth or structural damage to your cabinetry. So it is important to be proactive with these types of repairs.
Identifying Drain Leak Sources
For sink drains leaks often occur at the connection points of the P-trap or where the drain basket connects to the sink. Start by tightening any visible nuts and connections. If that does not stop the leak you might need to disassemble the P-trap and inspect the washers or gaskets. Sometimes a simple replacement of a rubber washer or applying plumber’s putty can fix the problem.
Garbage disposals can leak from a few different places. It could be from the top where it connects to the sink flange the discharge pipe connection or even from the bottom motor housing. Leaks at the sink flange often mean the plumber’s putty has failed and needs to be reapplied. Dislodge the disposal remove the old putty apply new putty and re-tighten the mounting bolts. Leaks from the discharge pipe usually require tightening the connection or replacing the rubber gasket and clamp. If the leak is from the bottom of the disposal unit itself the motor housing may be cracked or the internal seals have failed which often means the entire unit needs to be replaced.
Addressing Water Pressure Problems in the Kitchen
Low water pressure in your kitchen faucet can be a real inconvenience. It can make filling pots or rinsing dishes a slow and frustrating process. When I encounter this issue the first thing I consider is the aerator. Often times a simple cleaning is all that is needed for fixing kitchen fixtures correctly in this situation.
The aerator is a small screen located at the tip of your faucet spout. Its job is to mix air with the water flow for a smooth consistent stream. Over time mineral deposits from hard water or small debris can accumulate in the aerator. This build-up restricts water flow causing a noticeable drop in pressure. Other potential causes include clogged supply lines or issues with the main water shut-off valve.
To clean the aerator you simply unscrew it from the faucet spout. Most aerators twist off by hand but some might require a wrench. Once removed you can separate its individual parts and rinse them thoroughly under running water. Use a small brush or a toothpick to dislodge any stubborn mineral deposits or debris from the screens. For severe build-up soaking the parts in white vinegar for a few hours can help dissolve the minerals. After cleaning reassemble the aerator and screw it back onto the faucet. Test the water pressure to see if the problem is resolved.
If cleaning the aerator does not fix the low pressure the problem might be further down the line. Check the shut-off valves under the sink to ensure they are fully open. These valves can sometimes be partially closed reducing water flow. If the problem persists it could indicate a clog in the faucet’s supply lines or even a wider plumbing issue in your home. This might require a more in-depth diagnosis.
When to Call a Professional for Kitchen Fixture Repair
While many kitchen fixture issues can be tackled by a homeowner sometimes it is best to call in an expert. Knowing your limits is an important part of responsible home maintenance. Some problems are more complex than they appear or they might require specialized tools and knowledge. Attempting a repair beyond your skill level can sometimes worsen the situation leading to more costly fixes down the road. I always advise people to assess the scale of the problem before deciding to DIY.
If you are facing a major leak that you cannot stop or if you suspect a hidden pipe burst it is crucial to call a licensed plumber immediately. These situations can cause significant water damage very quickly. Also if a repair involves disconnecting main water lines or working with gas lines it is absolutely essential to have a professional handle it. There are serious safety risks involved with improper work on these systems. When dealing with intricate installations or if you are unsure about the underlying cause of a persistent problem it is always better to seek expert help. The peace of mind that comes with a professionally completed repair is well worth the investment and it often prevents future problems from arising. Understanding who should install your kitchen faucet for complex jobs can prevent costly errors and ensure the work meets professional standards.
Preventative Maintenance for Lasting Kitchen Fixtures
Prevention is always better than cure especially when it comes to your home’s plumbing. Implementing a few simple preventative maintenance steps can significantly extend the life of your kitchen fixtures. It also helps in avoiding those sudden inconvenient breakdowns. I have found that a little routine care goes a long way in maintaining a functional kitchen. Fixing kitchen fixtures correctly includes making sure they do not break down in the first place.
One easy step is to regularly clean your faucet’s aerator. As I mentioned before mineral deposits can build up and restrict water flow. Giving it a quick clean every few months can prevent pressure issues and keep your water flowing smoothly. This simple task takes only a few minutes but it saves you from future headaches and potential repairs. It is also good practice to use gentle cleaners on your fixtures to avoid damaging their finish or internal components. Harsh chemicals can corrode rubber seals and gaskets leading to leaks.
Another important tip is to avoid over-tightening faucet handles. Many people think tightening them more will stop drips but it can actually wear out the internal washers faster. A firm but gentle turn is all that is needed. For drains make sure to use drain strainers to catch food particles hair and other debris. This prevents clogs in your pipes. Avoid pouring grease or harsh chemicals down the drain as these can solidify and cause blockages or damage pipes. Periodically flush your drains with hot water to help clear minor build-ups. These small habits contribute to the longevity and smooth operation of all your kitchen fixtures.
Keeping Your Kitchen Functional and Beautiful
Fixing kitchen fixtures correctly is an important skill for any homeowner. It helps maintain the functionality and beauty of your kitchen which in turn supports a more peaceful and organized home life. We have explored everything from common dripping faucets and leaky drains to low water pressure issues. I trust these practical insights will empower you to tackle many plumbing problems on your own.
Remember that a little knowledge and the right tools can make a big difference. Performing regular preventative maintenance on your kitchen fixtures will save you time money and stress in the long run. It is about being proactive and taking pride in your living space.
Whether you choose to DIY a small repair or decide to call a professional for a more complex issue the goal remains the same. You want to ensure your kitchen continues to be a comfortable and efficient space. Embrace these tips keep your fixtures in excellent condition and enjoy the benefits of a truly beautiful and functional kitchen.


